
This Article describes how to adjust the WWII Jeep Oil Pump with the proper position of your distributor. Applies to 1942,42,1943,43,1944,44,1945 WWII Jeep Models


|
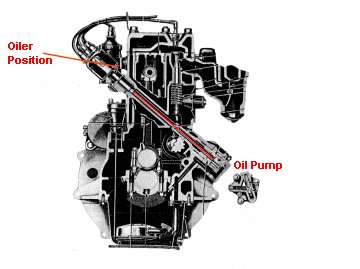
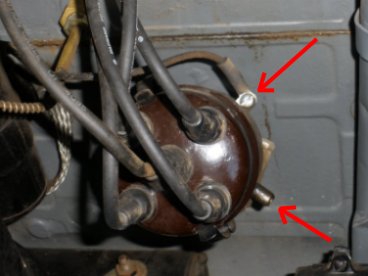
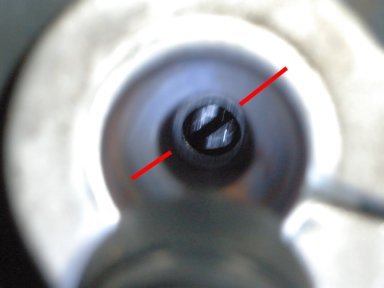
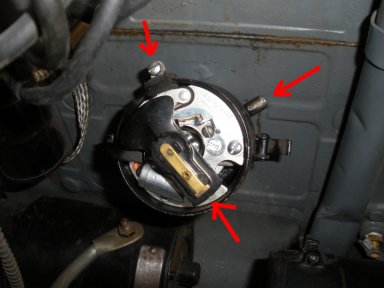
1. Many times after you dismantle your engine, via overhauling, one of the things that is missed is the position of the oil pump and how it relates to the distributor. Here you see how the Distributor oiler should be around the 2 oclock position |
|
2. The distributor rod inserts into the Oil pump, so if the gears on the oil pump are not in the correct position, it affects where the distributor oiler and wire connections end up. If the oiler is not positioned towards the top of the engine, dropping oil in it will never reach its destination. Here you see where the oiler is, and where we want it to be. |
|
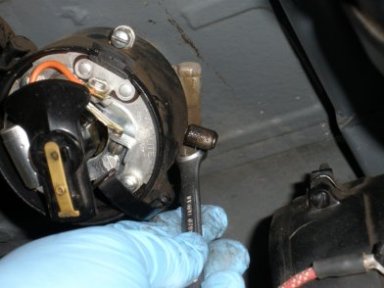
3. You will be working on boths sides of the engine, and Note: your TIMING will be effected. So be prepared to time your engine at the end of this article. First, disconnect the coil wire from the distributor. |
|
4. Remove the distributor cap from the distributor. Move it out of the way as we will be pulling the distributor out. |
|
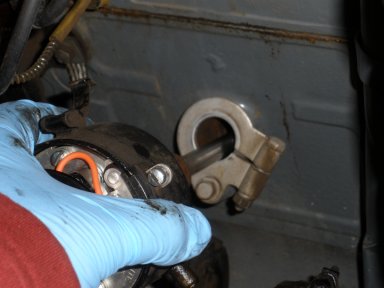
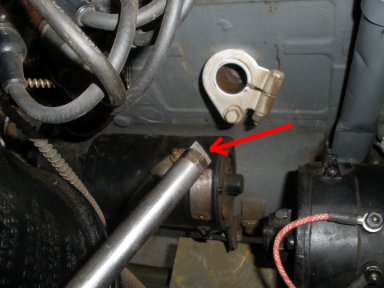
5. Loosen the connection for the distributor to the engine block. |
|
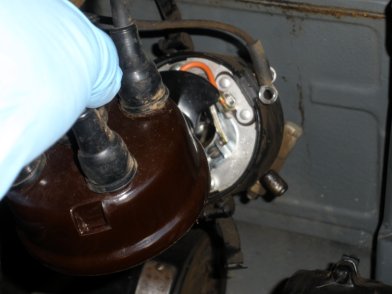
6. Once the distributor connection is loosened, you can pull the distributor out of the block. |
|
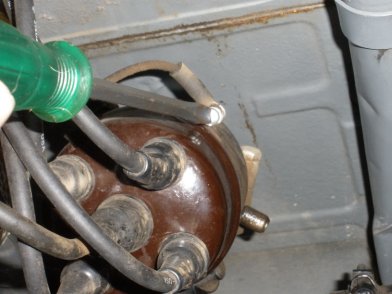
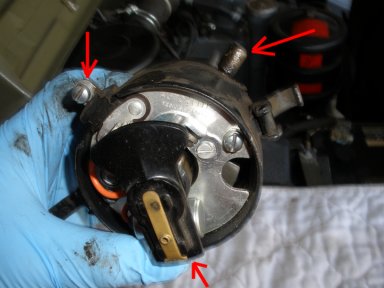
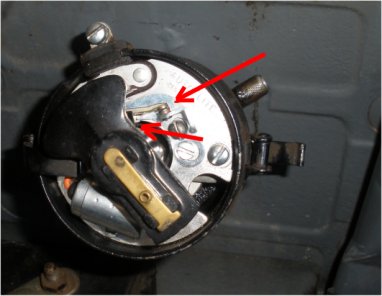
7. While the distributor is in your hand, rotate the distributor casing so that the oiler is about the 2 o'clock position and while holding the casing, rotate the rotor to just shy of the 6 o'clock position.. This is close to the proper positioning. |
|
8. Set the distributor down, and get your engine into the Top Dead Center position by turning the crankshaft. Open your Timing cover and turn the crank until you are in proper position. |
|
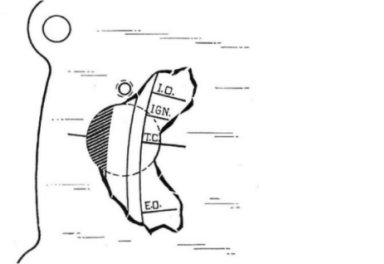
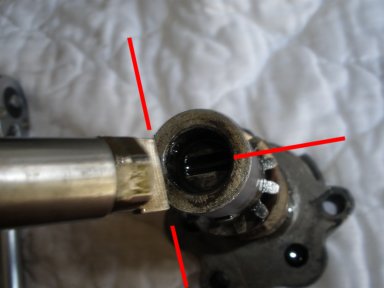
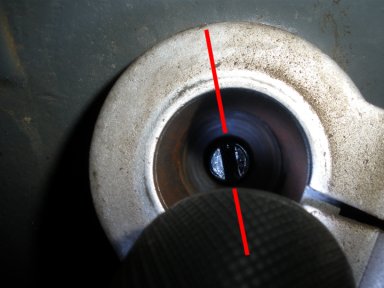
9. Look at the bottom of the distributor shaft. Note the position of the tip of the distributor shaft. This will look like a standard screw driver tip. This tip is the position we need to make available with the oil pump shaft. |
|
10. The distributor shaft needle will fit into the oil pump fitting. Therefore, we need to move the Oil Pump gear to match the position we have on our distributor (item #7 above) |

|
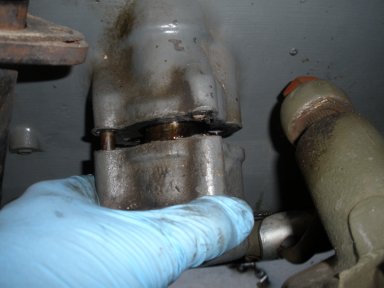
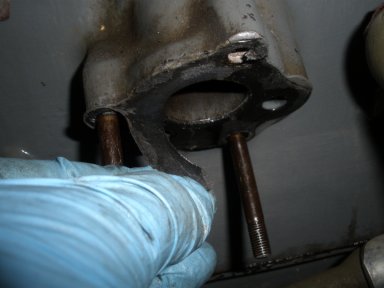
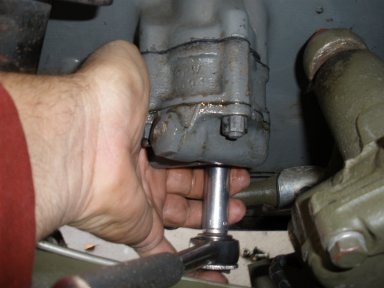
11. Remove the bolts on the oil pump on the opposite side of the engine. You will need to tug a little as the gears will disengage from the camshaft as there is probably sealer on the gaskets. |
|
12. Note: there are two sections from your oil pump to seperate, a lower section versus the upper section. You want the upper section to seperate. |
|
13. To disengage the gears on the oil pump from the cam shaft, you will need to pull the oil pump downwards. Note: oil pump will have oil in it. |
|
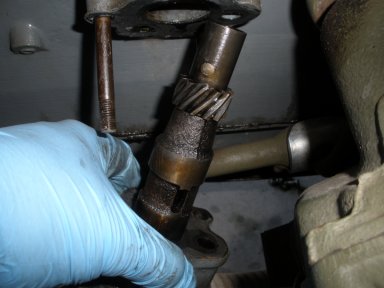
14. If we bring the oil pump over to the distributor and line up as they would be bolted... You see they don't line up. We want to get these two pieces to match up to our Distributor adjustment. |
|
15. After turning the gear on the oil pump (in the position that you would bolt it in) but bring it back about two teeth back (as the spin of the gear will take it to the right), you see that the oil pump is in the approximate position to receive the Distributor shaft. |
|
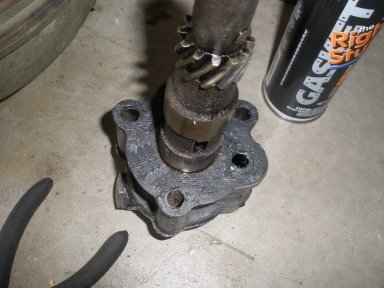
16. Remove the old gasket from the block and oil pump.Note: Prepare your oil pump to be re-engaged and replace the gasket. Clean the surface on the oil pump as well. |
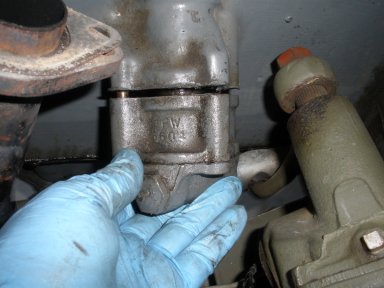
|
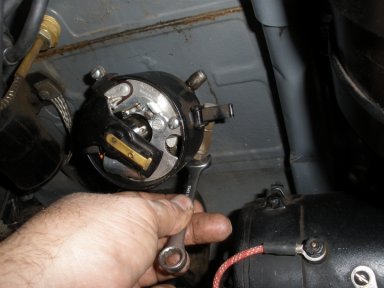
17. Next, re-engage the oil pump into the position that you have turned the gear to. Do not bolt in yet, we need to see if it is in the correct position. |
|
18. Look down the hole for the distributor on the block and see if is going to be pretty close to your expectation. Reminder: The teeth of the gear will move your desired position more towards a counter clockwise position. You may need to turn the gear back one or two teeth to line up correctly. |
|
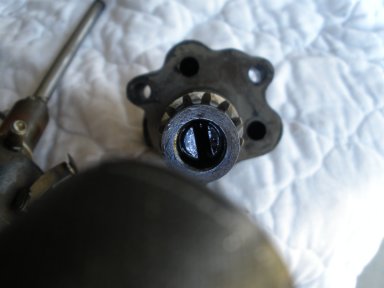
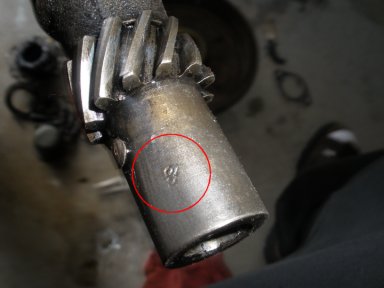
19. FORD OWNERS: Your oil pump should have a nice F script at the end of the oil pump shaft. |
|
20. Note: The offset of the oil pump and the distributor need to line up correctly for this to work. Don’t assume that it will line up. Before applying sealer, make sure the rotor and oiler on distributor are in the correct position. If you are certain it looks good… |
|
21. Now, insert your distributor shaft back into the block and engage it back into position with the oil pump shaft. The distributor now should be in an approximate position for the time and the TDC of piston #1 |
|
22. Slightly tighten the distributor shaft into position. It should be loose enough to turn the distributor for timing later. |
|
23. With the distributor cap off, you want to rotate your distributor so that the points are just about to open. Also, you should see the IGN marking on the flywheel viewing hole |
|
24. Slightly tighten the distributor shaft to the block, and clamp the distributor cap back on the distributor. |
|
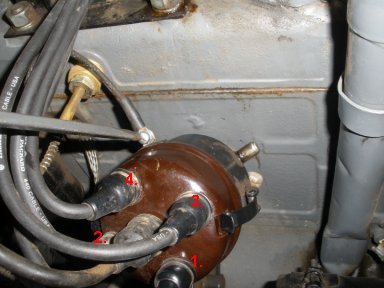
25. Replace the wire from the coil to the distributor (should fit better). Check your wires to make sure they are still in 1-3-4-2 order on your distributor cap. |
