
This Article describes how you can dismantle G503 WWII Jeep Combat Wheel tires, flaps, tubes details. Applies to 1942,42,1943,43,1944,44,1945 Jeeps models


|
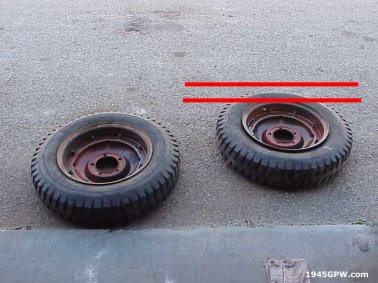
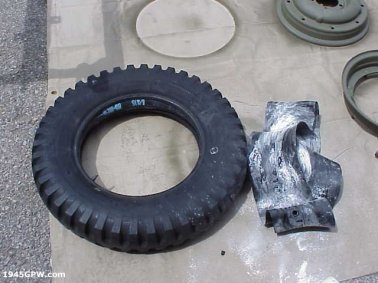
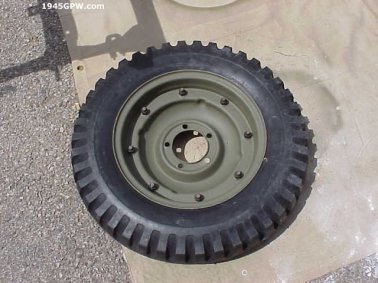
1. Cleaning up combat rims is a little time consuming. You can do this, while working on another stage of your restore because it is an isolated task. The first thing to do is break the bead on the existing tires. Remove the valve stem to let the air out of tire. Then take another vehicle and run over the tire as shown in read lines. |
|
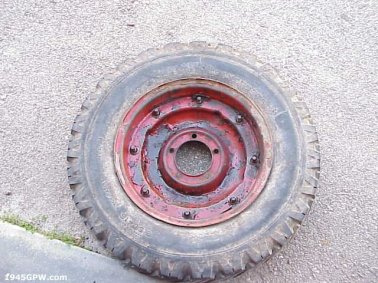
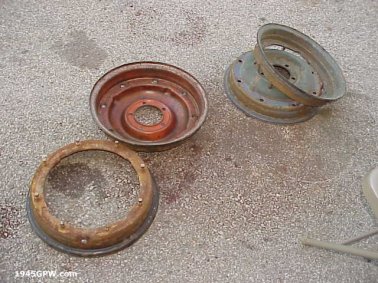
2. Once the bead is broken on the tire you need to seperate the rims. The nuts are usually rusted on tight. Soak them with penetrating oil. This may take a couple days of soaking each nut on the backside. After each attempt of soaking, you can try and unscrew the nuts. |
|
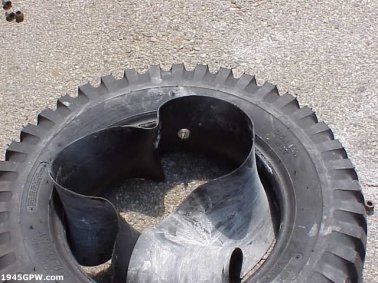
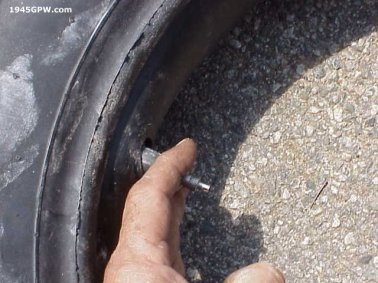
3. Assuming that you were able to remove the nuts from the back side, you can now take a screw drive and try and seperate the rims. It may need soaking between the rim seam as well. This should come apart fairly easily. |
|
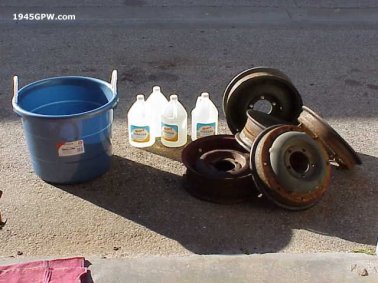
4. (Optional) If your rims were pretty rusty, you may want to soak the entire rim in vinegar before having them blasted. Vinegar is a mild acid and it will remove rust without harming the metal |

|
5. (Optional) Here you see an example of dropping the rim into a large bucket and letting them sit for a couple days. When I have the rims sandblasted they will clean up very well with the rust disolved |
|
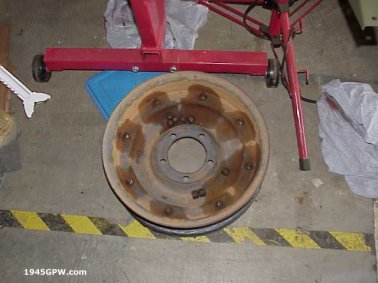
6. Now the rims are ready for blasting. The rust just peels off with a touch of the hand and should clean up very well. |
|
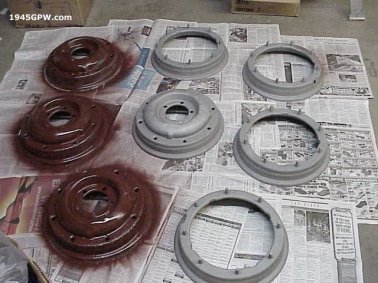
7. After sandblasting, they came back very clean, here you see the start of the primering. |
|
8. Primering is complete, both sides, making sure you have a good coat of protection especially where the rims will come together. |
|
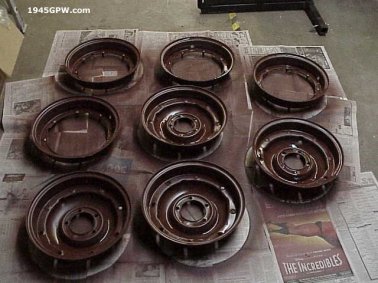
9. After the prime painting, you want to get a nice coat of OD on the rims. Again, make sure you are protecting the metal well. |
|
10. Once the rims have drived completely after a couple days you are ready to install the Flaps, Tubes and Tires. For the first tire install, place the tube in the tire and fill slightly with air. Not much, just enough air to keep the shape up. |
|
11. TIP: This part can be a little messy and frustrating. Pre-install the flap on the tube but add baby powder to the flapp so it will slide around. Rubber on rubber does not slide well. Place the stem opening on the tube opening and pull the stem through the flap stem hole. |
|
12. Stuff the flap into the tire around the tube. Pull the stem out, and add a couple of WASHERS around the stem and place the stem cap on the stem so you can pull the stem out. Note: the stem will want to retreat like a turtle pulling his head into his shell. |
|
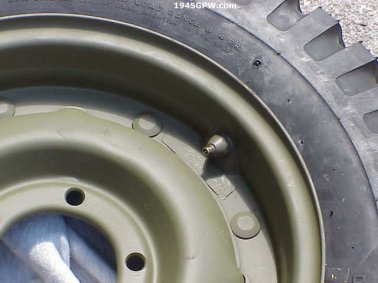
13. Next, line up the stem with the tube and rim half. Undo the stem cap with washers and pull stem through rim and add screw on the valve stem extender on outside of rim. Then add the other half of rim making sure you don't pinch the flap or tube. |
|
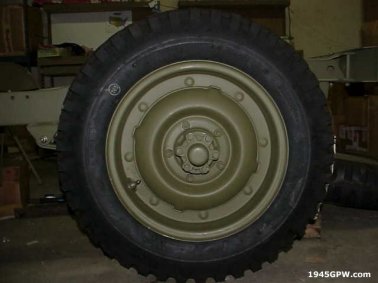
14. Tighten up the back nuts and fill up with air, and your have completed your first tire install. Repeat the steps for the next 4 rims. |
|
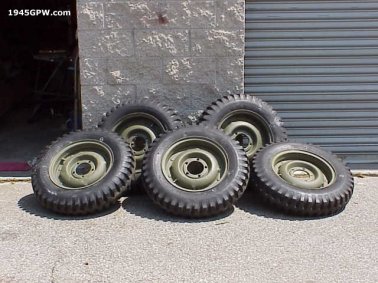
15. After all of the new tires are on, wipe off the excess baby powder and admire how great they look. |
|
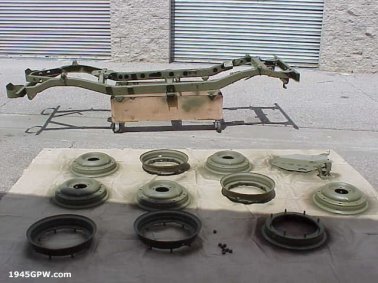
16. When you install them on your axles you will have a great sense of accomplishment and really like the way they look. |
